How to Edit Instagram Photos: Pro Tips for Real Estate Agents
In the first few years of Instagram, photo editing looked a little something like this:
Open the app. Snap a photo. Apply a filter. Post.
Things have come a long way. Now, Instagram users have a myriad of tools at their disposal to make sure their Instagram photos look their very best.
For real estate agents, stellar Instagram photos are key. After all, real estate is a visual business — a picture says a thousand words about a home.
Knowing how to edit Instagram photos the right way can help real estate agents attract Instagram followers and interest in their real estate listings.
Still using Instagram’s set of filters? Never edit your photos before you hit the post button?
This is for you. Keep reading for real estate-specific tips for editing Instagram photos.
Use the Right Tools
It’s all about having the right tools for the job. And when it comes to editing Instagram photos, the right tools are the right apps.
Yes, Instagram does have its own in-app editing tools for things like contrast, brightness, saturation and so on. But we recommend using a separate photo editing app to take advantage of a full suite of editing tools and features.
Our favourite Instagram photo editing app for real estate agents is Adobe Lightroom.
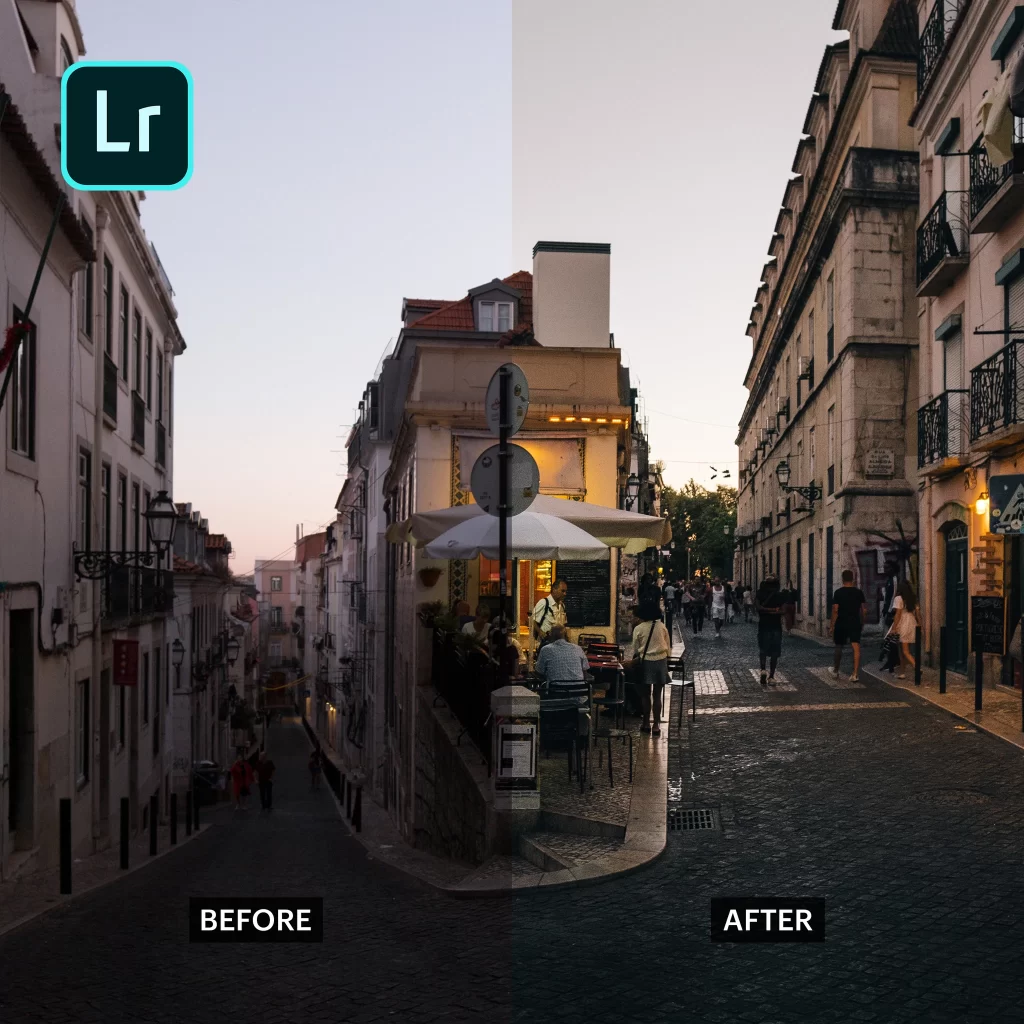 Lightroom boasts the power of Adobe’s professional-level photo editing software, transformed into a user-friendly mobile app for editing on the go.
In addition to basic and advanced editing tools, filters and hundreds of presets (configurations of editing settings that can be applied with a tap of a button), Lightroom also offers camera tools that help you capture better photos using your phone.
Unlike some other photo editing apps, it also gives you the power to edit and adjust specific areas of an image, rather than the whole shot.
It’s available for iOS and Android, and is free to download (with in-app purchases available).
Learn What Makes a Great Photo
Thanks to editing apps, even an average amateur photographer can make their so-so shots look great. Understanding what makes a photo great is the first step.
Things like composition, colour, lighting, distance from camera to subject and camera quality all play a role. While these elements are most important when you’re taking a photo, understanding the basics can also help when editing.
Colour should feel realistic, and shouldn’t skew overly warm or overly cool. Lighting can be used to imply a mood. Graininess or blurriness can all be signs of poor quality. Close-ups can provide detail; wide shots can provide scale and context.
Composition — how the elements of a photo are arranged within a frame — should follow the rule of thirds. The rule of thirds divides a photo frame into a three-by-three grid, with nine equal boxes. The elements of the photo should sit where the grid lines intersect in order for a photo to look its most captivating.
Know Your Specs
One of the most common Instagram photo editing mistakes: not keeping Instagram image sizes and dimensions in mind.
If you resize and crop your images without adhering to Instagram’s recommended specs, your photos could end up looking low-quality and distorted.
When resizing and cropping photos for Instagram, you need to remember two things: aspect ratio and size.
Aspect ratio
The ratio of an image’s width to its height. In other words, its shape. For example, a 16:9 aspect ratio has a width of 16 units and a height of nine units.
Size
The number of pixels that comprise an image’s width and height. For example, 1280px by 720px.
If your images fall within Instagram’s guidelines for aspect ratio and size, you can ensure your images will look their very best.
These guidelines vary depending on what you’re posting (e.g., a horizontal grid post, a vertical grid post or an Instagram Story). Later.com has a handy guide to Instagram sizes and dimensions.
Use Filters Sparingly
In real estate, authenticity matters. If you’re sharing listing photos on Instagram, those photos should be an accurate representation of what the property looks like in real life.
That’s why real estate agents should only use filters and other effects sparingly on Instagram.
Generally speaking, real estate agents should only edit to improve attributes like brightness, exposure, temperature, contrast and composition (and, of course, ratio and size). You want to subtly enhance the quality of the photo, not distort the photo’s subject.
There are exceptions. If you’re sharing snapshots of your life (to give your followers an idea of who you are outside of real estate), then you can have a bit of fun with creative enhancements. But keep the following in mind…
Stick to Your Style
 Style is important when it comes to editing photos for your real estate Instagram account. How you edit — the things you choose to emphasize or crop, how you adjust light, the effects you add — all amount to a style.
Your Instagram account represents your real estate business. As such, your Instagram content should reflect your real estate branding.
What does that mean?
If your real estate brand’s colour palette is light and bright, for example, your Instagram feed shouldn’t feel dark and moody. Your photos should be edited accordingly.
Consistency is important, too. Your Instagram feed should feel cohesive — a potential client should be able to take a look at your grid and recognize a “look.” That look is what helps you stand out from your competition.
To achieve that consistency of style, you want to make sure to use the same editing approach when editing photos for your real estate Instagram account.
What tools do you use to edit photos for your real estate Instagram account?